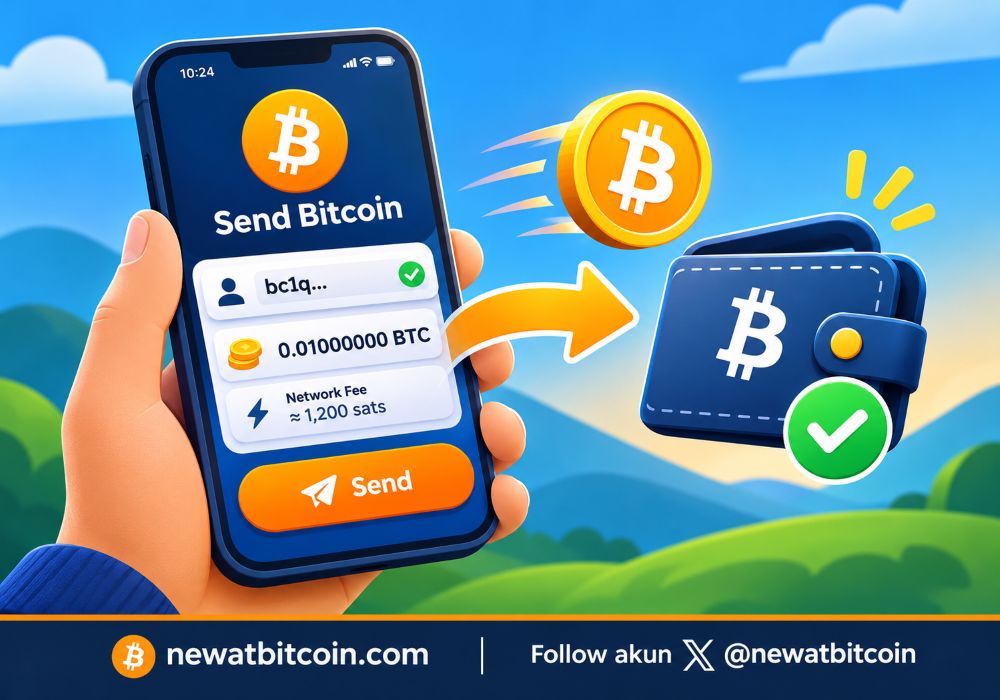


Sending Bitcoin is pretty straightforward. Open your wallet, enter the recipient’s address, choose an amount, and confirm the payment.
But there’s one important difference from a regular bank transfer: once a Bitcoin transaction is confirmed, you generally can’t reverse it.
That’s why it’s worth checking a few things before hitting Send, especially if you’re doing it for the first time.
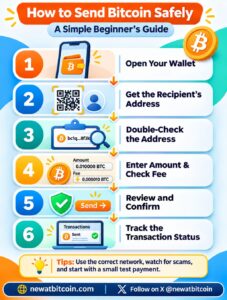
1. Make Sure Your Bitcoin Wallet Is Ready
Start by opening your Bitcoin wallet and checking your available balance.
If you’re sending Bitcoin directly through the blockchain, known as an on-chain transaction, you’ll usually need enough Bitcoin to cover both the payment and the network fee.
If your Bitcoin is held on a cryptocurrency exchange, you’ll typically use the Withdraw option instead of Send.
The exact steps may look different depending on the wallet or exchange, but the basic process is similar.
2. Get the Recipient’s Payment Details
Before sending anything, ask the recipient for their Bitcoin payment details.
For a regular on-chain transaction, you’ll need a Bitcoin address. This is a string of letters and numbers that identifies where the Bitcoin should be sent. The recipient may also provide a QR code.
You might also come across the Lightning Network, a payment layer built on Bitcoin that supports fast, low-cost payments.
Lightning payments often use a Lightning invoice, which contains the information needed to make a payment.
An on-chain Bitcoin address and a Lightning invoice aren’t interchangeable. Make sure your wallet supports the payment method the recipient is using.
This is particularly important when withdrawing Bitcoin from an exchange, where several network options may be available.
Related Article: How to Receive Bitcoin for the First Time: A Beginner’s Guide
3. Enter and Double-Check the Address
Open the Send section of your wallet and paste the recipient’s Bitcoin address, or scan their QR code.
Now comes the part you shouldn’t skip: checking the address.
Make sure the entire address matches the one provided by the recipient, not just the first and last few characters.
Some malicious software can secretly replace a copied Bitcoin address with one controlled by an attacker. This is often called clipboard malware.
Scammers may also use similar-looking addresses to trick users into selecting the wrong destination.
If you’re making a large payment, consider confirming the address with the recipient through another trusted communication channel.
Related Article: How to Keep Your Bitcoin Wallet Safe: 6 Practical Tips for Beginners
4. Enter the Amount and Check the Transaction Fee
Next, enter the amount of Bitcoin you want to send.
Your wallet may display the amount in Bitcoin (BTC), satoshis (sats), or an estimated value in your local currency. One BTC equals 100 million sats.
Make sure you’re using the correct unit.
For on-chain transactions, there’s also a transaction fee. This fee goes to miners who include transactions in Bitcoin blocks.
Unlike some bank transfer fees, Bitcoin network fees aren’t based directly on how much money you’re sending. They depend mainly on the transaction’s data size and demand for block space.
Some wallets display a fee rate in satoshis per virtual byte (sat/vB), a unit used to calculate transaction fees.
A lower fee rate may mean waiting longer for confirmation, especially when the network is busy.
If you’re using an exchange, check its withdrawal fees separately, as these may follow the platform’s own pricing rules.
5. Review Everything Before Confirming
Before pressing Send or Confirm, take one final look at the transaction details.
Check the recipient’s address, payment amount, selected network, and total fees.
If you’re using a hardware wallet, review the destination address and amount on the device’s own screen before approving the transaction.
For your first transfer, sending a small test amount can be a sensible precaution, provided the fees are reasonable.
Remember, a confirmed Bitcoin transaction cannot simply be canceled. Recovering funds sent to the wrong address generally requires cooperation from whoever controls that address.
6. Check Your Transaction Status
Once you’ve sent the Bitcoin, open your wallet’s transaction history.
For an on-chain payment, the status may initially appear as Pending or Unconfirmed. This means the transaction hasn’t yet been included in a Bitcoin block.
When miners include it in a block, it receives its first confirmation. Each additional confirmation makes the transaction increasingly difficult to reverse.
Bitcoin blocks are produced roughly every 10 minutes on average, but confirmation times can vary depending on network conditions and transaction fees.
Many wallets also provide a Transaction ID (TXID), which identifies the transaction. You can use it to check its status through a block explorer, a website or tool that displays public blockchain transactions.
If a transaction remains pending, don’t immediately send the same payment again. Check its status and your wallet’s available options first.
Lightning payments work differently and usually provide a payment success or failure status without waiting for individual on-chain confirmations.
Take Your Time Before Sending Bitcoin
Once you’ve made a few transactions, sending Bitcoin will probably feel much more familiar.
The most important habit is simple: check where your Bitcoin is going, how much you’re sending, and what fees you’re paying.
There’s no need to rush through the process. A few extra seconds of checking can help you avoid mistakes that may be impossible to fix later.